There are two ways of naming photographs they are denotation and connotation. Denotation refers to the literal meaning and connotation has more of a hidden meaning.

This image is called
'Up against a wall' as the model is stood up against a wall!!

This image is called
'Sultry' as that is how the model comes across in the photograph.

This image is called '
Squeeze' and I think it may be very obvious as to why!!

This image has the simple letter only name
'S' as the body resembles the same shape.

This image is called
'More tea vicar?' Has a meaning of diverting someones attention away from insalubrious goings on.

This image is called
'Get your socks off!' Reference to the song 'Get your socks off'

This image is called
'From a different perspective' because of the angle at which it has been taken.

This image is called
'For Sam's eyes only' the reason behind this is that some of these photos are going to make an album for the models husband to be. His name is Sam.

This image is called
'Calvin Klein' as the underwear the model is wearing is Calvin Klein.

This image is called
'Animal instinct'. That is what came to mind when I looked at the image. I think it's the way the model is positioned looks almost like she is crawling.

This image is called '
All covered up'. For the simple fact that she is all covered up.

This image I have entitled
'me and my shadow' for obvious reasons really. It reminded me of Peter Pan and his shadow.
After selecting my final 12 images I had a really good look at the photographs close up to see what needed to be edited. I noticed on all of my images that there was a small vertical mark on the right side or a horizontal mark on the left. This I soon realised was on the lens of the camera as another student had the same problem. So that was my first job.

The images above show the removal of the mark. I used the clone stamp, with a soft brush and was careful to take a clone of similar colours, as the lighting creates shadows and the light on the background close to the model is brighter than that further from her, it gradually saturates towards the edge of the image.
I have also had to re size my images for printing. I have selected 15in x 10in 300dpi for most with a couple at A3 300dpi. Also some of the images had to be cropped either to eliminate something in the photo that shouldn't be there and to give the image a better perspective.


In this image I had caught the top of the backdrop in the photo so this needed to be cropped out. Also I decided to crop out the bottom of the photo as I think it makes it look less like she is sat on a platform. The image also fills the frame more, I think that it suits this style of photography better.
I have also turned this and a couple of other images black and white, I think that certain photographs gain from this. In particular the image above, it emphasises the tone of the black against the white background and the light reflecting off the black material. It also makes it look like the models skin is porcelain in colour rather than tanned and it makes it look more highlighted.

In this image I firstly used the
liquefy setting to smooth out the left side of the models body, and then I experimented with the levels of curves, exposure and the brightness and contrast. I have
altered the brightness and contrast to make the backdrop
appear lighter to try and make the shadow stand out more, also the colour temperature has been reduced making the image
appear less red/orange tone.
With my other shoot that I did I haven't really had to alter anything much apart from a couple of marks on the model and the only cropping I did was to make sure the images were the correct size for printing.

This image in particular I didn't want to crop as I really like the space to the left behind the model and the shadow in the top left corner. It adds the feeling of space and mood to the photograph. Although there is alot of wall in the picture it doesn't distract the viewer away from the main focal point in the image as the model really stands out well from the wall.
Techniques, materials and resources used for portrait photography 1.1
There are many different formats and techniques that can be applied to portrait photography.
Framing is a technique where by you draw attention to one element of an image by framing it with another element of the image. This gives an image depth and draws the eye to a point of interest in the image.
You could do it by placing your subject in a window or doorway, have them look through a small gap or even use their hands around their face.
Shooting with a wide angle lens attached to your camera can help create some memorable shots when you’re doing portrait photography.
At very wide focal lengths you can create some wonderful distortion. Using these focal lengths will enlarge parts of the face or body that are on the edge of the frame more than what is in the centre.
It can also give a wide open and dramatic impact when your subject is in an impressive setting.
The person in your portrait is the main point of interest – however sometimes when you place them into different contexts with different backgrounds you can dramatically alter the mood in a shot.
Having parts of a portrait in focus draws attention on certain parts of the face or body, or a completely unfocused portrait can add a dreamy effect and make a picture quite abstract.
Black and white portraits can be just as dramatic as colour. By adding a shot of colour can draw attention to certain parts of the photo.
"When we shoot in color, we do not depart from what we see everyday, so our eye expects certain details in order to fill out the image. Black and white photography gives us the opportunity to diverge from this norm, and in a way view reality as an abstraction."
Equipment I have at home and what is avaliable to me at college 1.1
I have at home the Canon 450d camera which comes with the standard 18-55mm lens.
At college there is a wide range of lenses avaliable to use along with higher quality cameras. There is a studio which contains a wide range of backdrops, studio lights, reflectors and soft box.
Canon 450d
This is the camera which I have started out with, the basic entry level canon 450d. For specification details click on the image.
I don't really have any experience of digital SLR's, the only cameras I have used previously are point and shoot digital and film SLR's.
I don't have an opinion on my camera yet as I haven't really used it enough to comment other than I find it fairly easy to use and understand.
Standard 50mm lens
What makes this lens ideal for portriture is its angle-of-view is the closest to our own eyes and the easiest to use to get the most natural looking shots. You can even visualise shots without putting the camera to your eye. This doesn’t mean this lens is boring compared to the extremes that a telephoto or wide-angle will give. On the contrary, it’s just a lens that works well and keeps your photography simple. It is also ideal, as long as you remember not to get too close to your subject, which will lead to unflattering distortion to your sitters face. It works especially well with full-length portraits, but you can get some very nice head and shoulder shots.
70-200mm Lens
The telephoto lens allows you to take tightly composed pictures of subjects where it is impractical to get any closer and to use a wider lens, therefore they are useful for candid photography, this lens is small, lightweight and unobtrusive.
Short telephoto focal lengths are widely used in portraiture for their unnatural, non standard view makes objects at different distances appear closer together than they are in reality. Using a wide angle lens for head and shoulder close ups makes people's noses and other facial features more prominent - while a slight telephoto focal length flattens the features a touch, to give a more flattering result.
Telephotos are also useful in portraiture because when used with largish apertures, it is easy to throw a background out of focus thus drawing the viewers attention to certain parts of the scene.

 This image is called 'Up against a wall' as the model is stood up against a wall!!
 This image is called 'Sultry' as that is how the model comes across in the photograph.
 This image is called 'Squeeze' and I think it may be very obvious as to why!!
 This image has the simple letter only name 'S' as the body resembles the same shape.
 This image is called 'More tea vicar?' Has a meaning of diverting someones attention away from insalubrious goings on.
 This image is called 'Get your socks off!' Reference to the song 'Get your socks off'
 This image is called 'From a different perspective' because of the angle at which it has been taken.
 This image is called 'For Sam's eyes only' the reason behind this is that some of these photos are going to make an album for the models husband to be. His name is Sam.
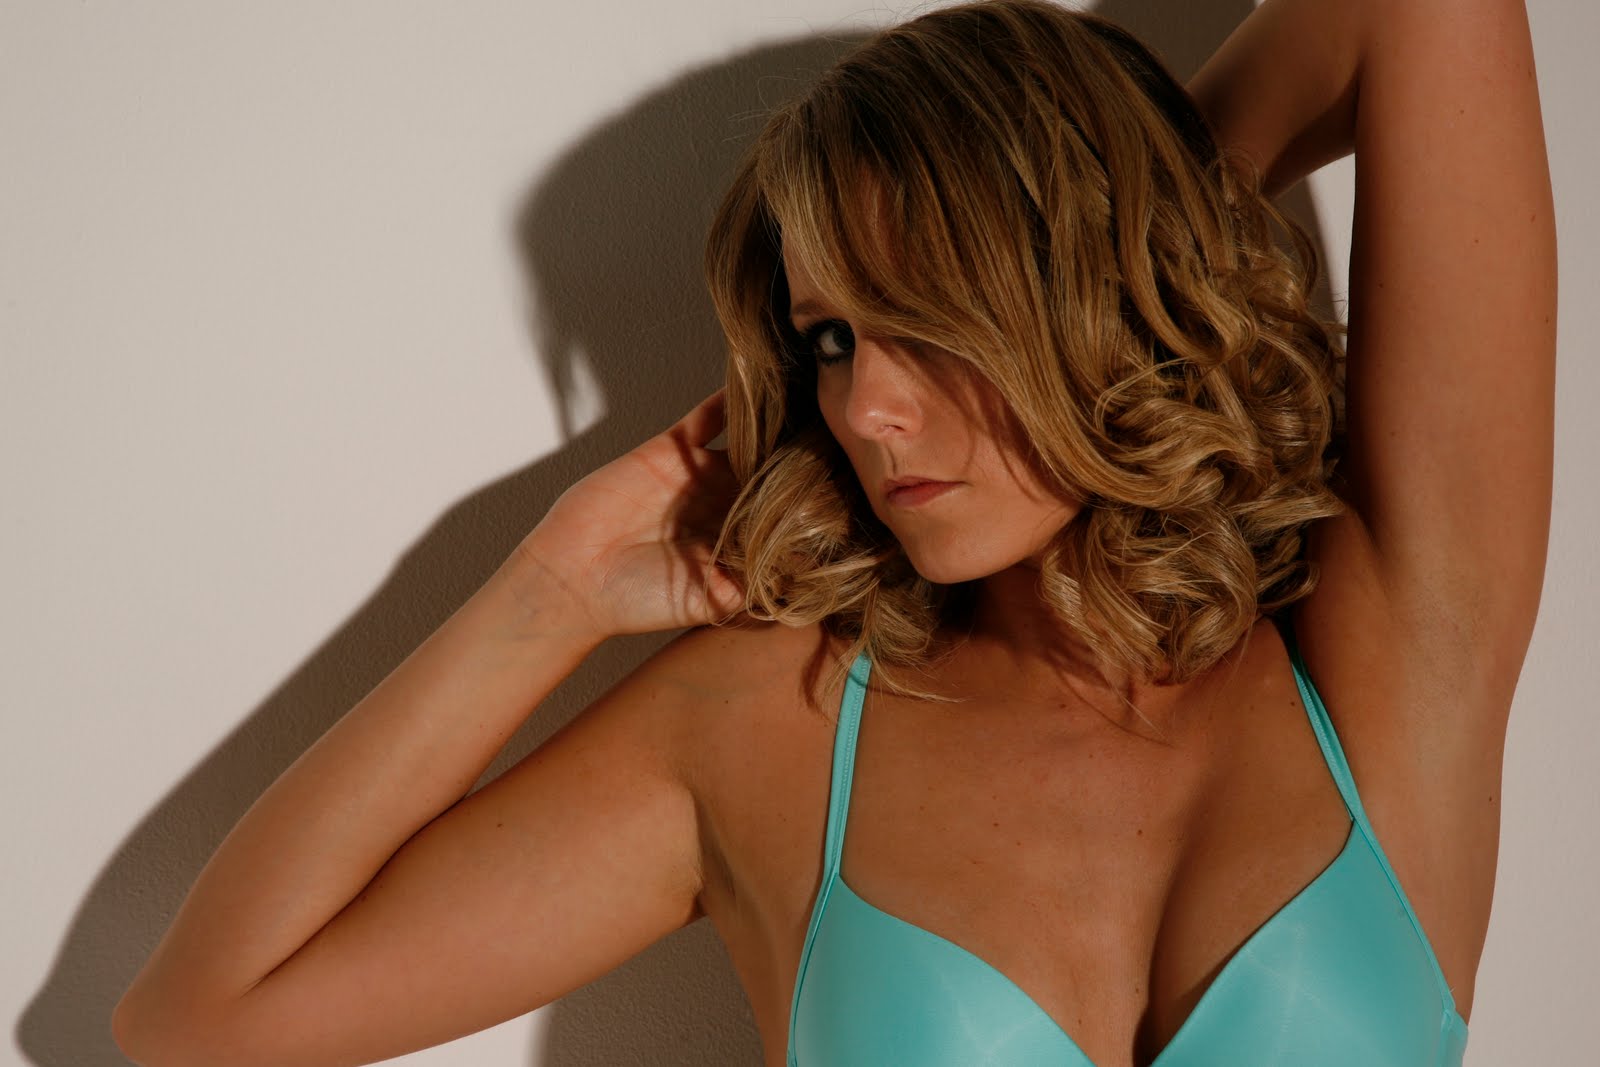 This image is called 'Calvin Klein' as the underwear the model is wearing is Calvin Klein.
 This image is called 'Animal instinct'. That is what came to mind when I looked at the image. I think it's the way the model is positioned looks almost like she is crawling.
 This image is called 'All covered up'. For the simple fact that she is all covered up.


